- In your Web browser address bar type: 10.10.0.119
- Click login in upper right hand corner
- Username: admin
- Password: 1234567
- Click Properties in upper Right hand corner

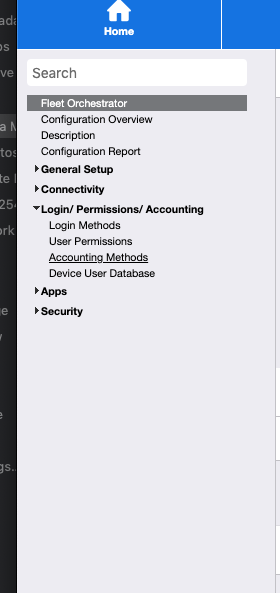
3. Click Login/Permissions/Accounting
4. Click Accounting methods
5. Click the Edit for Groups & General Accounts
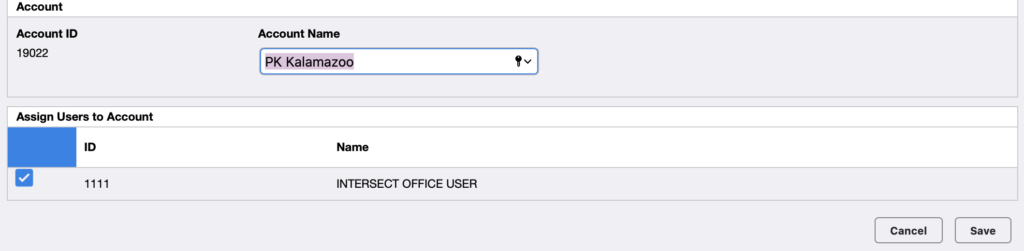
6. At the Top of the page you enter the new jobs (You must fill out both fields)
Account ID = Project #
Account Name = Project Name
7. Click Add Account (If adding multiples keep adding accounts until you are done)

Once all Accounts scroll to where your project numbers are. On the right hand side of each project number should be an Edit link

8. Click the Edit link
Click the box to add a checkmark next to Intersect Office user (1111)
Be sure to click Save when you’re done.
This needs to be done for each project you’ve added.